Editor’s note: The title of this blog post may be confusing to anyone with rudimentary construction or home remodeling skills. Basically, in order to install vinyl siding on a house, you must first remove the older aluminum siding or vinyl siding. You cannot cover old aluminum or vinyl siding with new vinyl siding! We framed the title of this post in a manner to catch the searches of lay people looking for advice.
Vinyl siding is one of the most used siding methods by homeowners for curb appeal needs, adding energy efficiency and less maintenance activity. Vinyl siding as an upgrade over old wood or aluminum siding is also a cost-effective way that does not require complex siding removal. Detailed Instructions and understanding is provided through this guide on how to install vinyl siding on your house in order to achieve a finished look that is professional and efficient. OR, you can contact Maddocks Construction today to have our experts skillfully apply your new vinyl siding!
What Are The Benefits of Vinyl Siding Installation?
Vinyl siding is an excellent application with durability, affordability, and different styles for different homes. Protection against weather damage, color fading, and warping resistance make vinyl siding an excellent and durable choice for all climates. Installing vinyl siding will help for better wall insulation as well as for savings on your utility bills.
Preparing for Vinyl Siding Installation
Before diving into the installation process, proper preparation is key. Follow these steps to ensure a seamless start and a successful outcome.
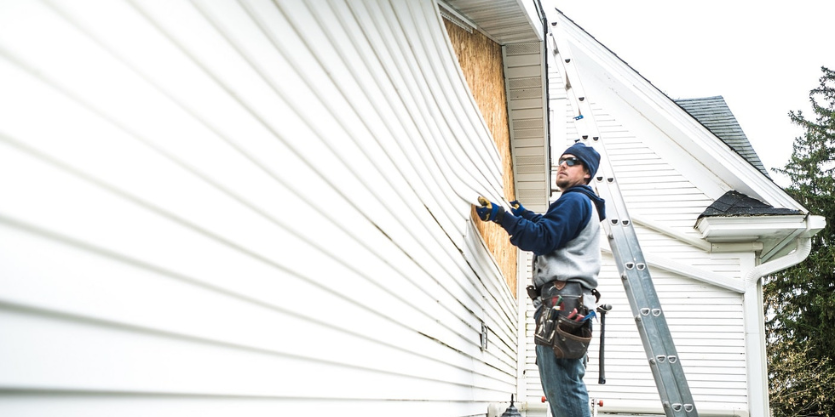
Remove the Existing Siding Completely
All old siding needs removed from the home completely before new siding can be applied. Then, examine the current wood surface for signs of damage. Issues such as rot, rusting nails or loose panels must be addressed before installation begins. Neglecting these issues can compromise the stability of the new vinyl siding.
Clean the Existing Surface
A clean surface is critical for a smooth installation. Thoroughly clean the surface of the property to remove dirt, mold, or debris. Use a power washer for an efficient and effective cleanup. Ensuring a clean base will help the new vinyl siding adhere correctly. If you do powerwash the surface, make sure you have a few sunny days before you schedule-wise so that the surface can be completely dry before it is covered with the new vinyl siding.
Collect All Required Tools and Resources
For a successful installation, you must have all of the necessary tools and materials. These are:
- Vinyl siding panels
- Starter strip
- J-channel
- Nails or screws
- Measuring tape
- Circular saw or tin snips
- Level and utility knife
Install a Weather-Resistant Barrier
Incorporating a weather-resistant barrier (i.e. house wrap) adds a moisture barrier to your new construction and makes a good insulation layer. Attach it to the home surface with either staples or adhesive tape so it lasts permanently.
How to Place Vinyl Siding, Step by Step
Step 1: Install the Starter Strip at the Base
Begin at the base of the house, ensuring the starter strip is perfectly level. This strip provides a solid foundation for the first row of vinyl siding panels, ensuring they align properly and look professional.
Step 2: Set Up Corner Posts
Attach corner posts at the house’s edges to frame the siding and provide a clean and stable edge. Corner posts also help ensure proper alignment for panels that meet at the corners of your home.
Step 3: Add J-Channels Around Openings
Position J channels around windows, doors, and other openings to create a polished edge. These channels allow for panel expansion and provide a neat, finished appearance around obstacles and edges.
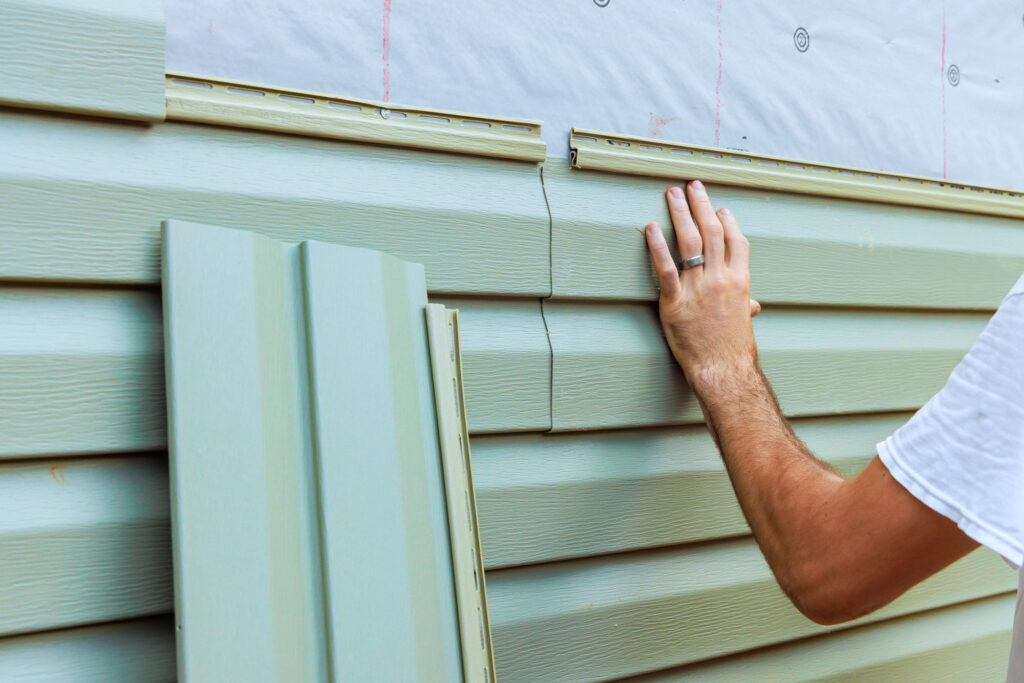
Step 4: Measure, Cut, and Attach Vinyl Panels
Carefully measure and cut the vinyl panels to fit the area accurately. Use tin snips or a circular saw for precise cuts. Attach the panels to the starter strip, nailing them loosely to accommodate expansion and contraction caused by temperature changes.
Step 5: Install Panels Row by Row
Continue installing panels row by row, ensuring each one overlaps the previous panel for a seamless look. Periodically check for level alignment as you progress.
Step 6: Add Finishing Trim Pieces
Install finishing trim pieces, such as soffit panels, fascia, and caps, to complete the look. These elements enhance the aesthetics of your siding and provide extra protection against weather damage.
Tips for Successful Vinyl Siding Installation on Homes
- Allow the Vinyl to Expand and Contraction: Overdriving nails can cause buckling because vinyl expands and contracts with temperature changes.
- Allow for Proper Ventilation: Increase ventilation in the soffits and attics to avoid moisture accumulation as this will help stop mold or mildew from forming.
- Install in Manageable Sections: For larger homes, you will probably need to install the vinyl siding in sections for precise installation as well as to enable agile work movement.
- Inspect Alignment Frequently: Periodically check alignment as you install each row to maintain a consistent and professional appearance.
Important – Overcoming Common Challenges with Home Siding
Uneven Surfaces on The Home
Existing wood surfaces may not always be even. Use furring strips to create a level base for vinyl siding. This step ensures a secure and visually appealing finish.
Repairing Damaged Areas
Addressing damaged areas is crucial before installation. Replace rotted wood to ensure a stable foundation for the vinyl siding.
Cutting Around Openings and Obstacles
The windows, doors, and all other openings must be cut very cleanly for a good visual appearance. Measure very carefully on each section and use a utility knife or tin snips for a clean, precise cut.
What Are the Benefits of Installing Siding on a Home
The new siding on a house is easily justified by the many benefits you’ll gain, such as curb appeal, energy efficiency upgrades, and greater weather protection. Vinyl Siding is a robust barrier that protects your home from moisture, insects like termites and ants, and temperature extremes. Furthermore, siding is low- maintenance and can complement the value of your property as a whole, giving siding an excellent financial return on investment for homeowners.
With years of expertise, Maddocks Construction executes a job above and beyond – building homes from the inside out with high-quality roofing and lasting vinyl siding services.
Why Choose Maddocks Construction for Your Home Improvement Needs?
We are specialists at Maddocks Construction, dealing with all kinds of home improvement strategies like the installation of vinyl siding, roof installation, residential roofing, commercial flat roofing, roof repair projects, and the addition of gutters and downspouts on new roof installations across Northeast Ohio. As professionals, we strive to deliver:
- Precision and Attention to Every Detail
- Customized Home Solutions Built Just For You
- Pleasant and Long-Lasting Results that Increase the Value and Beauty of Your Property
Please CONTACT Maddocks Construction to make your dream home a reality! To set up a consultation and see how vinyl siding can improve the look of your property, fill out our easy form to get things started!